Monthly Archives: May 2013

Pinecone Birdfeeder {create}

Standard

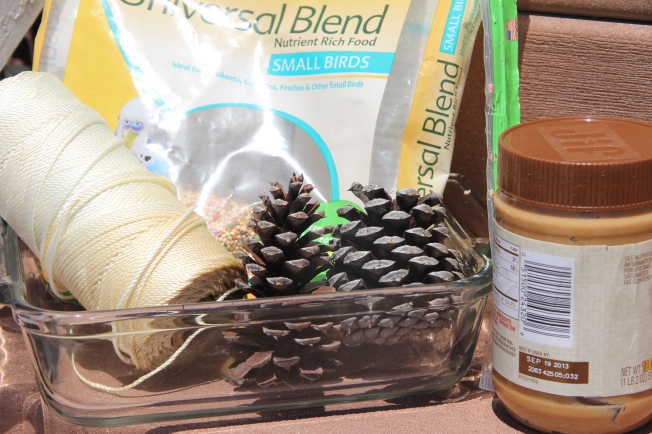
My daughter saw this project in a children’s magazine one time and has been anxious to do it ever since. So, yesterday was the day. It was a beautiful afternoon after lunch, so what better way to spend a little bit of time outside? (Well, aside from the kiddie pool, which they went for not long after this craft time!) So, I gathered up the birdseed, peanut butter, a couple of pinecones we have had in the house (I told you she’s been anxious to do the project!) and some string.

Four simple items are all you need for this kid-friendly craft!

Four simple items are all you need for this kid-friendly craft!

This craft is really easy and quick, but can get messy depending on the dexterity of your kids, so I took the project outside. My daughter, who’s 6, didn’t have trouble using a small spatula to cover her pinecone with the peanut butter. My son (age 4) wasn’t that into it, so I let her coat his, too.

Step 1: Coat the pinecone with peanut butter.

Step 1: Coat the pinecone with peanut butter.

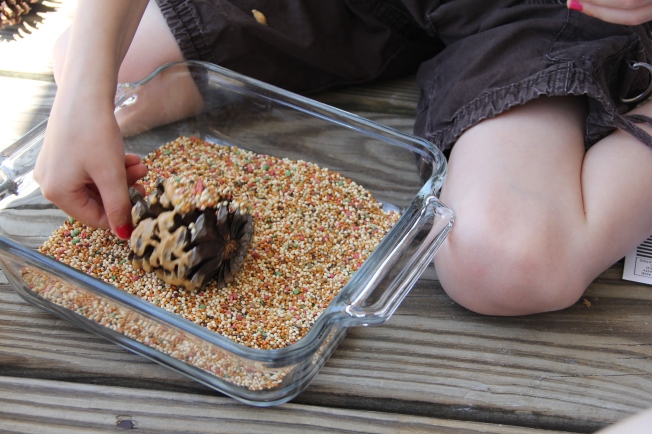
When it was time to put on the birdseed, I had the kids roll the pinecones in a dish of seed, instead of trying to sprinkle it on. I figured it would be easier on them and a little less prone to messiness. This turned out to be a good idea. 🙂

Step 2: Roll the pinecone in a pan of birdseed until the pinecone is completely covered.

Step 2: Roll the pinecone in a pan of birdseed until the pinecone is completely covered.

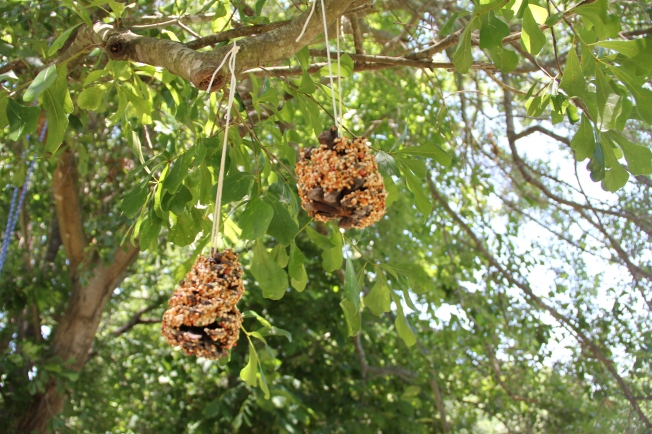
After the cones were completely seeded, I tied on some string and we went off to the backyard to find a place to hang the bird feeders. This proved more difficult than I had expected because most of the good branches in our backyard trees were up too high for even me to reach, let alone the kids. So I ended up having to hang them up (and stretched up on my toes to do it), which I think was disappointing to my daughter, since she couldn’t do it. Maybe we can make some more of these sometime and find a different place to hang them up. It sure didn’t cost anything but a little time! Anyway, I was going to put the pinecones in different locations, but my daughter insisted they had to be on the same branch beside each other, because one was hers and one was her brother’s and they had to be together. I only wish the sibling sweetness lasted all day! 🙂

Step 3: Tie a string on the pinecones and find a suitable branch from which to hang them.

Step 3: Tie a string on the pinecones and find a suitable branch from which to hang them.

Summertime Shish Kebabs {on my plate}

Standard

While the calendar still says it’s spring, the mercury’s rising around here to summertime temps. And school’s ending this week. And we just celebrated Memorial Day. So that summertime feel is definitely in the air. We welcomed it with a yummy dinner this week–shish kebabs. With the whole meal done on the grill, it was nice not to have to heat up the kitchen for a change. And they were delicious! Unfortunately, the kids’ taste buds weren’t as excited as ours were, but they did eat a little off the kebabs. I think had I done chicken or shrimp instead, with a few different veggies, they would’ve gobbled them right up. I’m keeping that in mind for later meals. To round off our summertime meal, we had grilled corn-on-the-cobb and watermelon. (Yes, the kids ate both of those items right up! Especially my son, who’s a big fruit eater.)

I used the great recipe here for my marinade, but had to make a few modifications because I was missing some ingredients. I think the recipe as written sounds great, too, so if you have everything on hand, go for it! I’m recreating the recipe below, except with my changes, for your convenience.

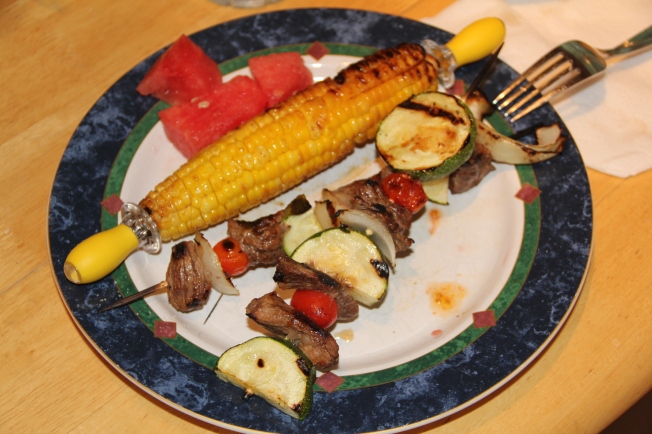
Summertime eats: shish kebabs, grilled corn and watermelon

Summertime eats: shish kebabs, grilled corn and watermelon

Beef Shish Kebabs

(serves 4)

About a pound (maybe a little less) of beef stew meat, cubed

onion, cherry tomatoes and zucchini, cut to the same diameter as the cubes of beef (your vegetables may vary)

metal or wooden skewers (soak the wooden skewers overnight in water* we didn’t do this and totally should have)

coarse sea salt and fresh ground pepper to taste

Marinade

1/3 cup olive oil

1 Tbsp. of honey (I just realized I accidentally omitted this; am leaving it so no one else makes the same mistake)

1 medium onion,  diced

4 cloves of garlic, minced

1 cup of water

Worcestershire sauce (not sure how much I used, I eyeballed it)

1 Tbsp. sweet paprika

4  Tbsp. chopped fresh oregano or thyme leaves

1/2  tsp. of black pepper

salt to taste

Rinse and pat dry your beef. In a large container or sealable bag, add all of the marinade ingredients. Reserve some of the marinade for basting. Add beef to the marinade and seal. Ensure all the beef is covered and refrigerate for 4 to 6 hours. Remove from the fridge an hour before grilling so as to allow the beef to return to room temperature. Prepare your vegetables for the kebabs. To make the kebabs, skewer a cube of beef, then alternate with a different vegetable between each cube of beef. Repeat until all your ingredients have been used and discard the marinade. Season kebabs with coarse sea salt and ground pepper. Cook for 5 minutes/side on a hot grill or until all sides are seared. Brush on reserved marinade and serve.

Homeschool Mosaic Review: The Waterproof Bible

Standard

review disclaimer1Today’s review isn’t really a homeschool product, but it is one of the coolest things I’ve seen. Have you ever heard of a Waterproof Bible? I didn’t know they made such a thing! So I was pretty excited when my review copy of the New Testament with Psalms and Proverbs arrived in the mail. But I had trouble at first with intentionally dousing a *Bible* with water. In fact, my husband had to do the first test because I couldn’t bring myself to do it!

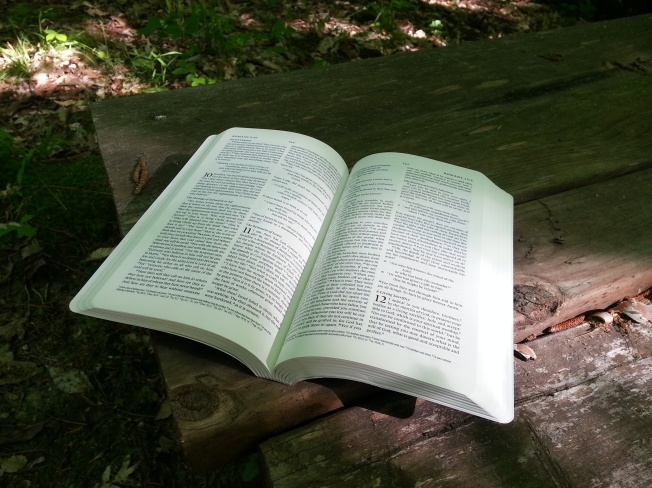
I needn’t have worried, because this Bible is made of tough stuff. Its synthetic pages are stain- and tear-resistant and 100 percent waterproof. Spill coffee or OJ while you’re reading in the morning? It’ll wipe right off and not leave a trace. You can hold a single page of the Bible and shake it around a bit, and it won’t tear (don’t try this with your regular Bible! :-)) The binding of the Waterproof Bible is stitched and sewn before it’s glued so it’s made to last. And there’s very little bleed-through of text between pages, so it’s easily readable.

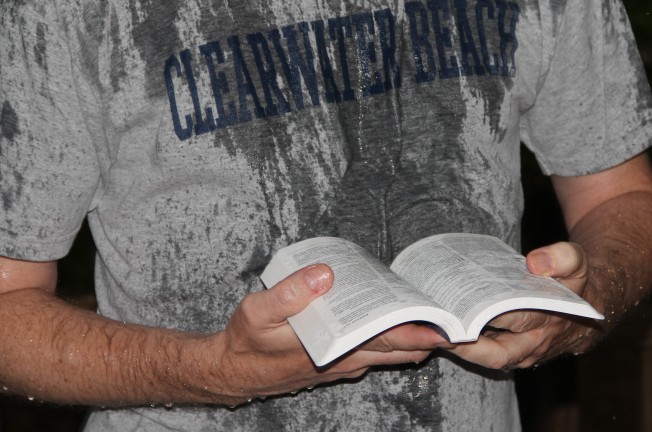
Caught in a rainstorm? No worries; this Bible is easily wiped dry and the pages won't be ruined!

Caught in a rainstorm? No worries; this Bible is easily wiped dry and the pages won’t be ruined!

The Waterproof Bible, by Bardin Marsee Publishing, was the brilliant idea of two friends who enjoyed the outdoors and being out in the elements, but often wound up with ruined Bibles that couldn’t hold up. Or they just didn’t take their Bibles along for fear of ruining them. But they wanted to be able to read God’s Word out in His creation, and thus set about creating a Bible they could take with them and fit their active lifestyle. Their first product, called the Outdoor Bible, was a Bible in several volumes that folded like a backpacker’s trail map. It sounds pretty cool, but the format didn’t go over that well; people wanted a more traditional-looking Bible. So a few years later, the Waterproof Bible debuted.

For those who like to mark passages while they read, you can highlight on the Waterproof Bible’s pages with a dry highlighter (available here on the accessories page), as well as write with a pencil or ballpoint pen. The company does not recommend using Sharpies, gel pens or rollerball pens because those require the page to absorb liquid, which the Waterproof Bible will not do. Also, beware of using petroleum-based products, because the petroleum will smear the ink.

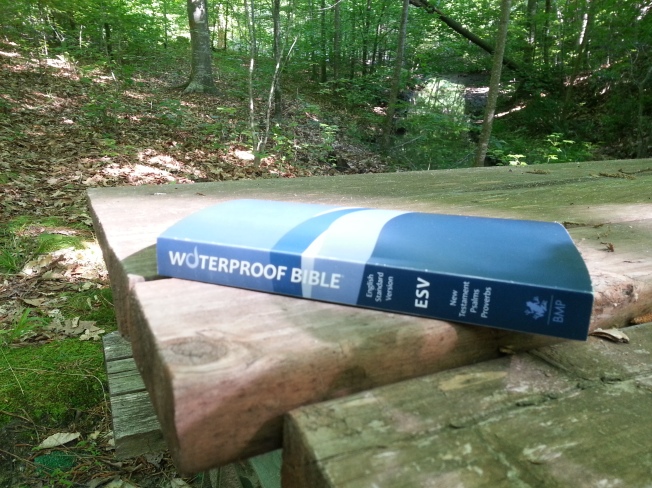
The Waterproof Bible is great for outdoor use, and is virtually indestructible.

The Waterproof Bible is great for outdoor use, and is virtually indestructible.

The Waterproof Bible is available in two types: the full version with Old and New Testaments (from $39.95) and a New Testament with Psalms and Proverbs ($24.95), and in the following versions:

You can also add a personal touch by imprinting a name or initials for an added fee.

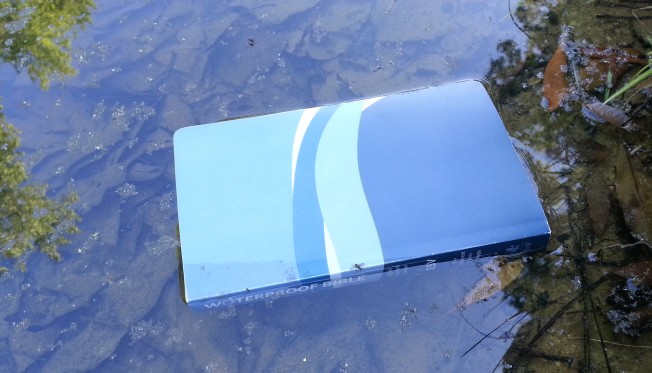
The Waterproof Bible even floats!

The Waterproof Bible even floats!

What I love:

  • Its size: small and lightweight enough to stash in a pocketbook or tote bag (or backpack). At 3/4 of a pound or lighter with about a 1 inch spine, it’s not going to add a lot of bulk to your bag.
  • Its near-indestructability: I really don’t have to worry about the kids spilling anything on it, or accidentally leaving it outside in bad weather.

Potential pitfalls:

  • I think the only thing that might be a concern for some people is the font size. At the moment, that’s unavoidable, because when the company tried to make a Bible with a larger font size, it turned into a large book weighing about seven pounds, and that defeats the purpose of having a lightweight, smaller Bible that you can take anywhere. The font size is something they’ll revisit when the paper technology catches up (the synthetic paper currently used is about three times as thick as regular Bible paper, which is why it’s so durable, and thus, heavier). That said, neither my husband nor I had a problem reading the Bible.

The Waterproof Bible’s tagline is “Be Inspired. Anywhere.” And with their product, I believe that’s true! This would be the perfect Bible for military personnel on deployment and missionaries in remote locations–as well as backpackers, kayakers and families going camping. The possibilities are endless.

Where will you take your Waterproof Bible?

Where will you take your Waterproof Bible?


Edit: Check out what else you can do to this Bible in more Mosaic Reviews on the blog.

Homeschool Mosaics Review: Ooka Island Adventure Reading Program {+Coupon Code!}

Standard

review disclaimer1Over the past several weeks, Homeschool Mosaic Reviewers have had the chance to use a pretty fun tool for reading: Ooka Island Adventure. Ooka Island’s program is geared toward pre-K to second graders and teaches phonics, phonemic awareness, vocabulary, fluency and comprehension. Due to the nature of the program, children are introduced to a new skill only when they have mastered the previous one.

Ooka Island is divided into three sections, called the Learning Flow Cycle by the creators. Guided Play focuses on phonic development through skill-building instructional activities;  the e-Reader book series focus on fluency, vocabulary and reading comprehension; and  Free Play allows children to play activities that reinforce what they have learned, reread e-books or just do fun games. Guided Play lasts for 20 minutes, the e-Reader for up to 10 minutes and the Free Play for about 8 minutes. The structure and sequence of these different sections help the children stay engaged in the program.

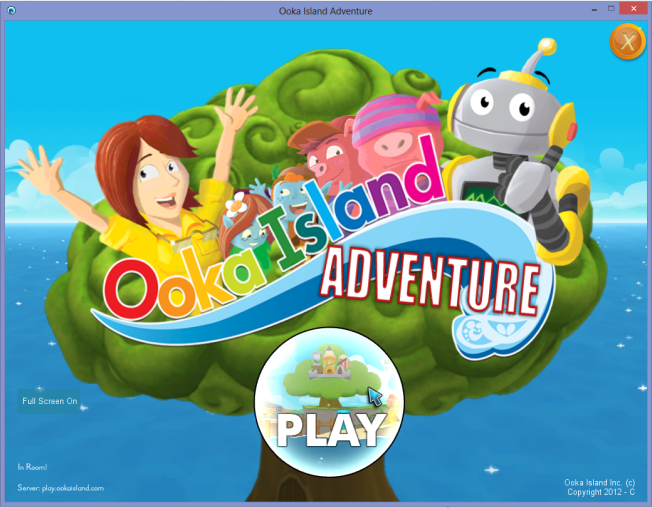
Ooka Island's cast of colorful characters

Ooka Island’s cast of colorful characters

My kindergartener (age 6) is already a reader, but she’s a brand new one and still learning. I liked that we could use Ooka Island to reinforce concepts she’s already learned and to improve her reading fluency and comprehension. She loved playing all the games, unlocking various rewards after completing certain levels and enjoyed listening to and reading the stories. Her favorite games were the soccer ball one and the submarine one, where the pigs are dropped into the water. My 4-year-old also used the program, but his attention span for the game was not as long as my daughter’s. He also had a more trouble maneuvering the mouse in the game, but as he practiced more, I could definitely tell he improved in that area. All the games are point-and-click based, so it was more of a physical skill of moving the mouse for him to learn than the interface being difficult. He would only play for about 10 minutes or so at a time; my daughter could probably spend all day on Ooka Island if I let her!

Ooka's books follow the adventures of Kayla, Jaiden and Boo.

Ooka’s books follow the adventures of Kayla, Jaiden and Boo.

What I love:

  • Ooka Island’s colorful graphics and fun games entertain my kids as well as help teach them phonics and reading skills and computer skills.
  • Because it’s not a streaming online program, I don’t have to worry about either of my young children accidentally surfing to something I wouldn’t want them to.
  • The Ooka Lighthouse assessment on the web site helps me keep track of which skills the kids are learning and their percentage of correct answers in the games.
  • The freebies online, including motivational tools like certificates and book paths to track your child’s progress.

Potential pitfalls:

  • A few times, the program would freeze up, and once or twice it kicked my child off in the middle of play. Part of the reason for this might have been our computer, which has been locking up more over the past month. They didn’t seem to lose their progress, however.
  • Due to the way the game is set up, players have to wait until they progressed in the game to certain points and unlocked features and places to use during free play. Not a big deal, but it took some convincing of my four-year-old who desperately wanted to go to the volcano first thing. 🙂
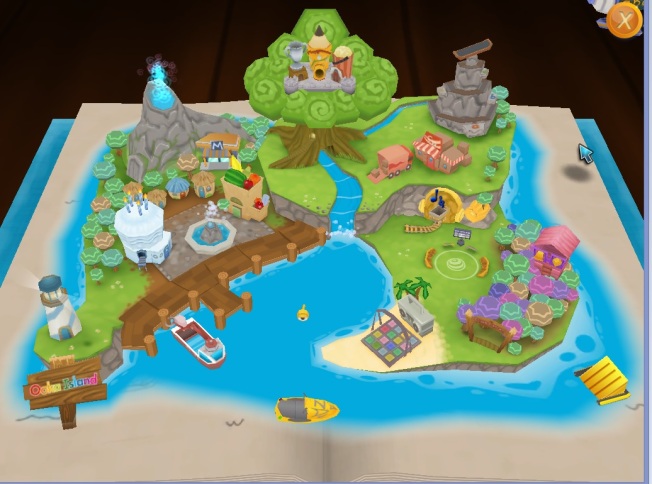
Ooka Island's map filled with areas to explore

Ooka Island’s map filled with areas to explore

This was the first time I’ve used a computer program in our schooling, and it’s been a good experience so far. If you’ve got a child in the 3-7 age range, or a slightly older child who could use reinforcement in reading skills, I invite you to check out Ooka Island. For home and homeschool editions, you can pay monthly ($12.95 for 1 student/$19.95 for up to 4) or annually ($124.95 for 1/$149.95 for up to 4). There is also a school edition.

Ooka Island has given Mosaic Reviewers a coupon code good for 30 percent off your annual or monthly subscription! Offer valid until June 1, 2013. Simply copy and paste this URL when you order:

http://offers.ookaisland.com/inblog?purl=wnOve

Edit: More Ooka Island experiences at the Mosaic Reviews blog!

Homeschool Mosaic Review: Saving Memories Forever

Standard

Ever been in the middle of a family reunion, and someone starts sharing a story you wish you could record…but no one has a camera readily available? Well, if you have a smartphone with the Saving Memories Forever app on it, that wouldn’t be a problem.

Saving Memories Forever is a web site and free mobile app that work together to help you easily record, organize and share your family history. Features of Saving Memories Forever include the ability to:smf_logo

  • Record stories right on your smartphone, and categorize them according to storyteller, age group and question asked.
  • Add tags and transcriptions to stories online, search for stories and share stories with other family members.
  • Include photographs and Word documents to enhance the audio stories* (*paid service only; premium subscriptions available for $3.99/month or $40/year)

After signing up for an account (Mosaic Reviewers received a premium account for review purposes) and downloading the app, it was pretty easy to get started. First you add the names of your storytellers (two on the free version, unlimited on the premium plan), then you choose a category. You can also upload a photo of each storyteller.

Saving Memories Forever allows you to categorize your storytellers to easily keep track of family history

Saving Memories Forever allows you to categorize your storytellers to easily keep track of family history

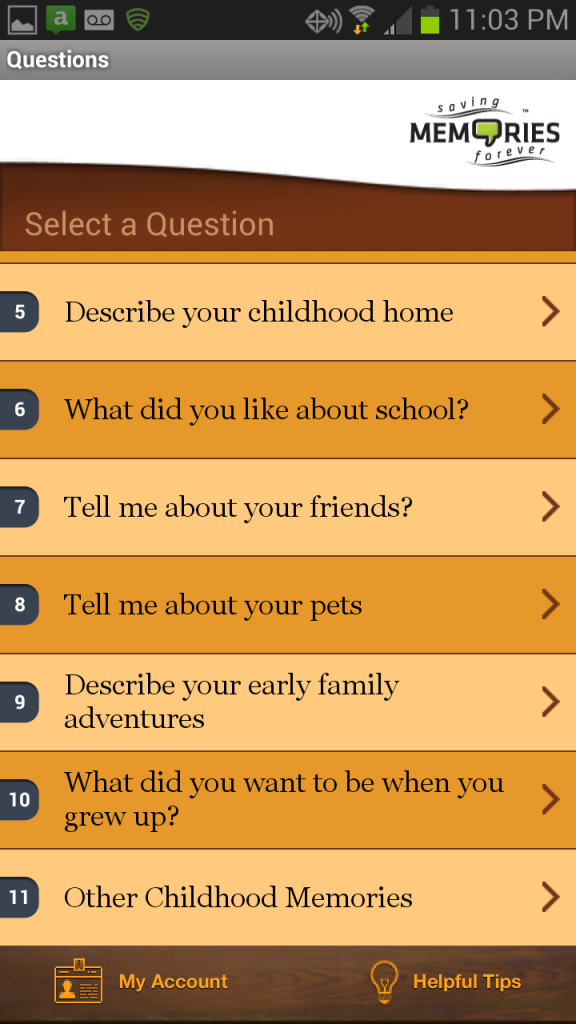
After you’ve gotten your storytellers set up, you can scroll through the plethora of questions available in each category. These are great conversation starters and memory joggers if you’re unsure where to start. The helpful hints online are also good to keep in mind before recording.

Questions from childhood memories to major life events help spur the memory keeping

Questions from childhood memories to major life events help spur the memory keeping

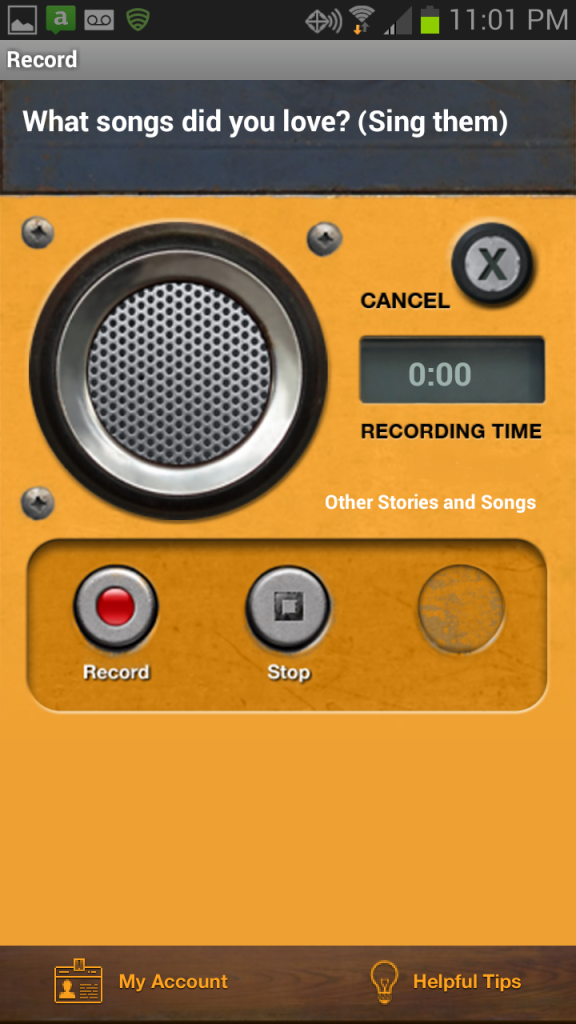
Once you’ve selected your question, you’re ready to record. It’s a simple matter of pressing the red “record” button, telling the story, and then pressing stop. You’ll then have the option to play back the recording, re-record it, or upload it. Now’s the time to make any needed adjustments; once you press upload, you can listen to the story on the Saving Memories Forever secure web site. You also have the option to share it on Facebook. And that’s it. You can find more info (and a video) on the process on the Saving Memories Forever web site.

Ready to record, playback and upload

Ready to record, playback and upload

What I love:

  • If you’ve got a smartphone, the ability to record family stories is literally at your fingertips. You don’t have to carry around an extra recording device or make sure the video camera is nearby.
  • The organizational features on the Saving Memories Forever web site help you manage the recorded history efficiently.

Potential pitfalls:

  • I didn’t run into any problems using the app on our Android phone, but I believe some other reviewers did experience some technical difficulties. Also, the application is currently for iPhone and Android platforms only.

I found Saving Memories Forever pretty easy to use; I wasn’t around any extended family during the review period to get some family history in audio format, but the kids and I had fun recording some songs and stories. It’s definitely worth checking out the free app, and if you find you’re wanting to do more with your memories, you can compare the Free vs. Fee benefits on Saving Memories Forever’s web site. There’s also a newsletter and a blog chock full of information. I think, as its creators say, that Saving Memories Forever is a great way to give the “generations in your family a voice.”

Edit 5/03: Check out more reviews of Saving Memories Forever on the Mosaic Reviews blog.

review disclaimer1